


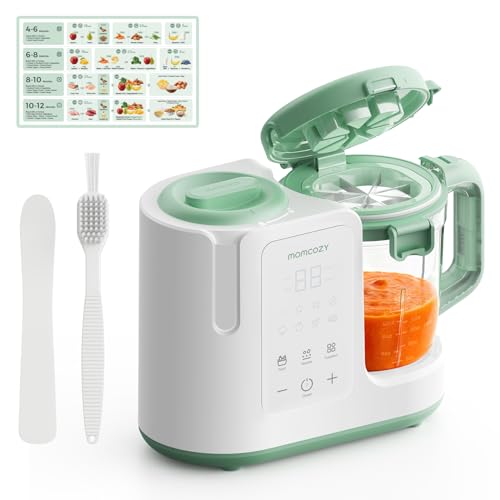


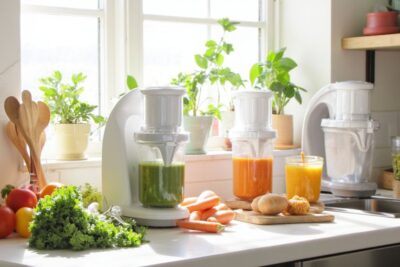
5 Tips for Using Baby Food Maker & Warmer

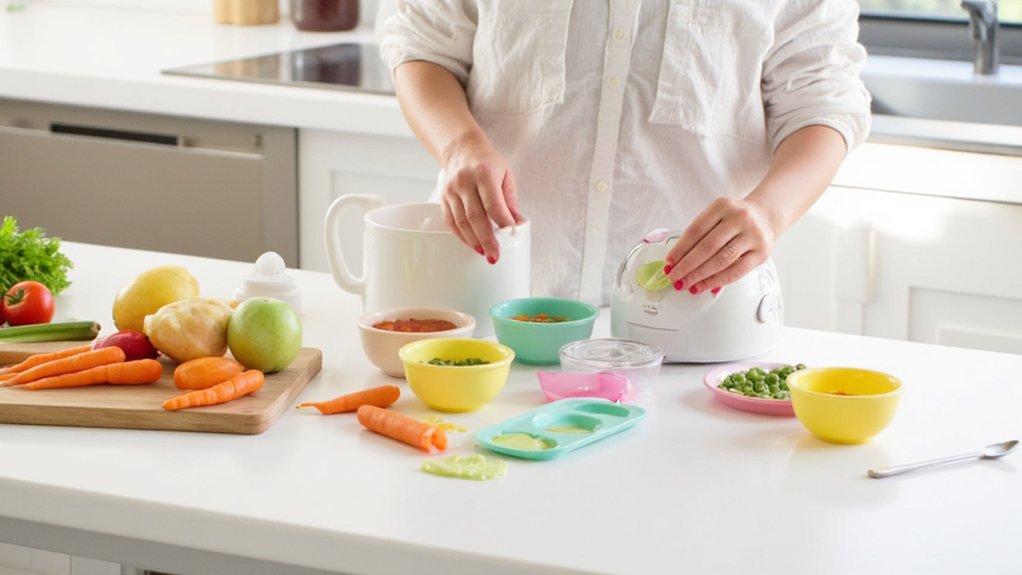
To get the most from your baby food maker and warmer, clean it thoroughly after each use and descale regularly to maintain performance. Choose fresh, organic ingredients, chopping them evenly for consistent cooking. Master steam and blend settings to suit your baby's age, creating smooth purees or chunkier textures safely. Store food in airtight containers and reheat thoroughly, discarding leftovers. If you want to avoid common errors and guarantee nutrient-rich meals, keep these tips in mind for smoother meal prep and feeding.
Table
- Main Points
- Proper Cleaning and Maintenance for Longevity
- Choosing the Right Ingredients and Preparation Methods
- Mastering Steam and Blend Settings for Perfect Texture
- Safe Storage and Reheating of Homemade Baby Food
- Troubleshooting Common Issues With Your Baby Food Maker
- Frequently Asked Questions
- Final Thoughts
Main Points
- Always clean the baby food maker thoroughly after each use to maintain hygiene and functionality.
- Use the steam function to cook fresh, organic ingredients to preserve nutrients effectively.
- Blend food to appropriate textures by adjusting blending time and water for your baby’s developmental stage.
- Store homemade baby food in airtight containers or ice cube trays, labeling with dates for freshness.
- Regularly descale the device and troubleshoot errors like water tank dryness or lid misalignment to ensure smooth operation.
Proper Cleaning and Maintenance for Longevity
Although it might feel tedious, cleaning your baby food maker thoroughly after each use is essential to keep it working well and safe for your little one.
To clean the baby food maker, wash the jug, lid, and basket in warm soapy water or place them on the dishwasher’s top shelf. Hand wash the blade, sealing ring, and locking ring to maintain their longevity. Regular cleaning helps preserve freshness and prevents contamination, especially when using airtight and BPA-free containers.
Wash jug, lid, and basket in warm soapy water or dishwasher; hand wash blade and rings for durability.
Always wipe the exterior of the unit with a damp cloth to remove any food particles. Don’t forget to pour out residual water from the tank after each use and descale it every four weeks or sooner if needed.
Following the manufacturer’s guidelines guarantees you maintain peak performance without damaging components, helping your appliance last longer while serving your family’s needs.
Choosing the Right Ingredients and Preparation Methods
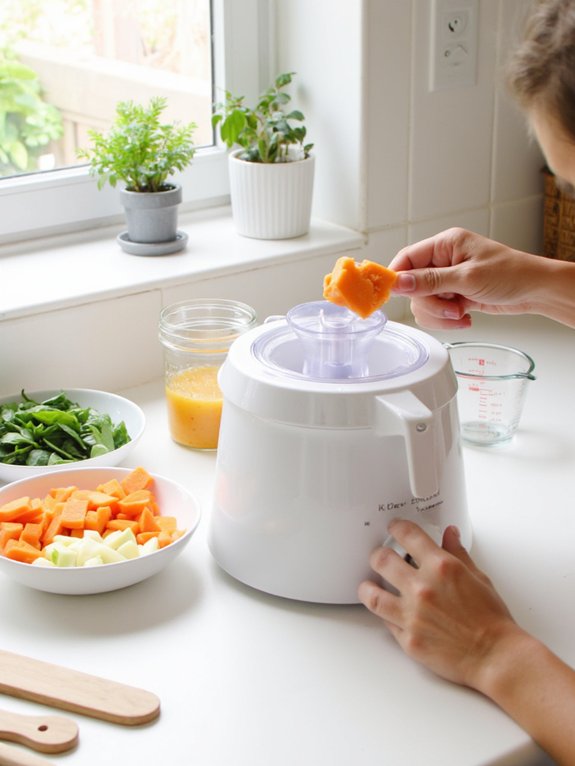
When you prepare baby food, selecting the right ingredients and using proper preparation methods can greatly impact your child's nutrition and safety.
Using a baby food maker, you can create homemade baby food with fresh organic produce, ensuring maximum nutrients without harmful pesticides. Focus on iron-rich foods like spinach and sweet potatoes to meet your baby's developmental needs. Many baby food makers use BPA-free materials in their construction, providing extra reassurance for health-conscious families about the safety of their homemade meals.
Proper preparation methods include:
- Washing, peeling, and chopping ingredients into uniform pieces for even cooking and blending.
- Using the steam function on your baby food maker to preserve nutrients better than boiling.
- Introducing one new food at a time, waiting 3–5 days to watch for allergic reactions.
These steps help you serve safe, nutritious meals that support your baby's growth and health.
Mastering Steam and Blend Settings for Perfect Texture
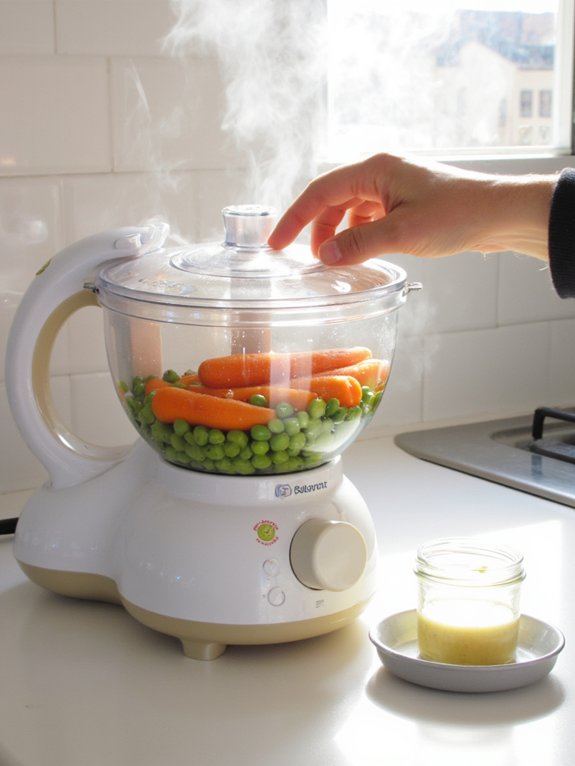
Selecting the right ingredients is just the beginning; mastering the steam and blend settings on your baby food maker lets you tailor textures to your little one’s developmental stage. Steam vegetables for 20-30 minutes to soften them while preserving nutrients, ensuring a wholesome base. For younger babies (4-6 months), blend steamed food into a smooth puree, adding water to reach the ideal consistency. Many baby food makers feature intuitive touch screen controls that simplify switching between steaming and blending modes for stress-free meal prep. As your baby grows (6-8 months), use pulse blending to create chunkier textures that encourage chewing and self-feeding skills. Older babies (8-12 months) benefit from varied textures by combining soft lumps with purees using different steam and blend settings. Always check food temperature before serving to prioritize safety and comfort during feeding. This approach supports your baby’s evolving needs with nutritious, perfectly textured meals.
Safe Storage and Reheating of Homemade Baby Food
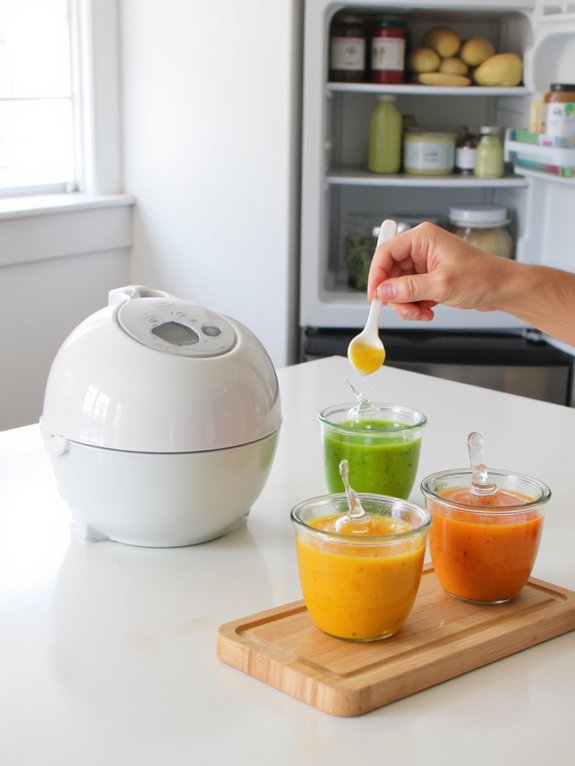
To keep your homemade baby food safe and fresh, you’ll want to store it properly in airtight containers or ice cube trays, clearly labeling each portion with the date.
This practice minimizes contamination risks and helps you track freshness. When it’s time to serve, reheating correctly is key to preventing foodborne illness. For extra peace of mind, consider whether your baby food maker is BPA-free to reduce concerns about potential chemical exposure.
Remember to:
- Freeze portions in ice cube trays for easy, controlled defrosting and portioning.
- Reheat food to at least 165°F (74°C), using a microwave or stovetop, stirring well to avoid hot spots.
- Discard any uneaten reheated food and never refreeze thawed portions to eliminate contamination risks.
Troubleshooting Common Issues With Your Baby Food Maker
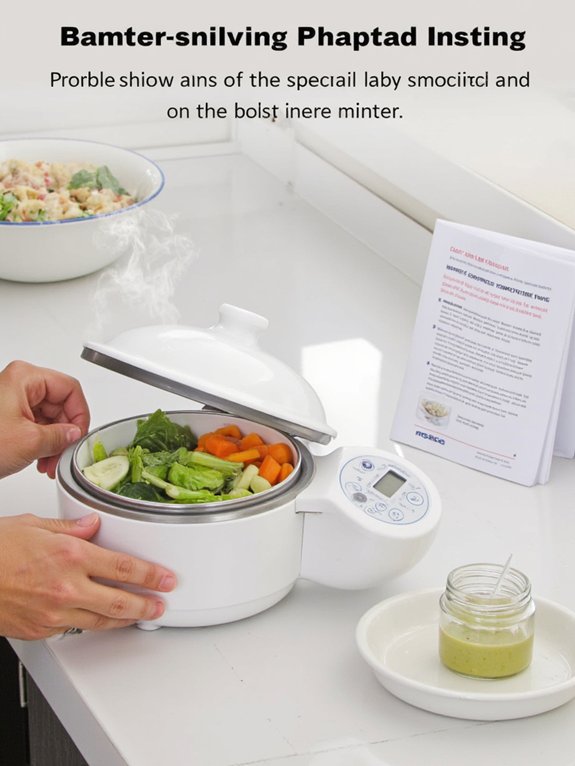
Although baby food makers simplify meal prep, you might occasionally run into issues like error codes or inconsistent blending. Understanding common problems helps you serve your little one better. For example, an E1 error means the water tank boiled dry—just add water and restart. An E2 error signals lid misalignment; reposition it and reset steam mode. Lumps in blended food? Adding a bit of cooled water and blending briefly smooths the texture. Regularly descale to avoid performance issues caused by limescale buildup.
| Issue | Cause | Solution |
|---|---|---|
| E1 error | Water tank boiled dry | Add water, restart cycle |
| E2 error | Lid misaligned | Correct lid, reset steam mode |
| Lumps in blended food | Insufficient blending/water | Add cooled water, blend again |
| Low steam | Limescale buildup | Descale unit regularly |
Frequently Asked Questions
How to Use a Baby Food Warmer?
You’ll guarantee baby food safety by following best practices: measure water precisely, use the bottle warmer correctly, monitor food consistency, and test temperature. These warming tips promote gentle heating methods for nutritious, safe meals your little one deserves.
How to Warm up Baby Food in a Bottle Warmer?
You’ll pour water into the bottle warmer, follow warming techniques for baby food consistency, and manage time carefully. Always check preferred temperatures for safety, turn off the device, and store leftovers properly to guarantee bottle warmer safety.
What Temperature Should Baby Food Be Heated To?
You should heat baby food to 165°F for baby food safety, guaranteeing ideal heating that preserves nutrients and food texture. Check serving temperature carefully, using gentle warming techniques to avoid hot spots and guarantee a comfortable feeding experience.
Are You Supposed to Warm up Gerber Baby Food?
You can warm Gerber baby food to enhance Gerber nutrition and taste, but follow safety guidelines. Control temperature carefully, avoid reheating leftovers, and align with feeding schedules. Store properly, and remember homemade purees need similar caution.
Final Thoughts
By following these tips, you’ll get the most out of your baby food maker and warmer, ensuring nutritious, perfectly textured meals for your little one. Remember, proper cleaning and safe storage aren’t just chores—they’re essential for your baby’s health. Isn’t it worth the extra effort to provide fresh, wholesome food tailored to your child’s needs? With a little practice and patience, you’ll master this valuable tool and make mealtime easier and safer.
If you want to know other articles similar to 5 Tips for Using Baby Food Maker & Warmer you can visit the Baby Food Makers category.
Best Baby Food Makers for Batch Cooking
Best Baby Food Makers With Steaming Function
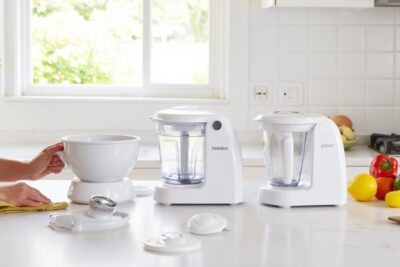
How to Choose an Easy-Clean Baby Food Maker
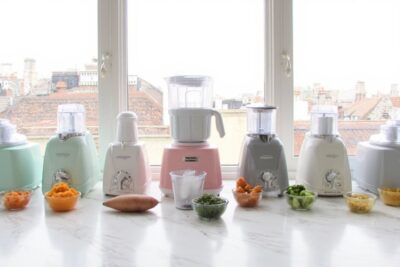
7 Quietest Baby Food Makers for Apartments
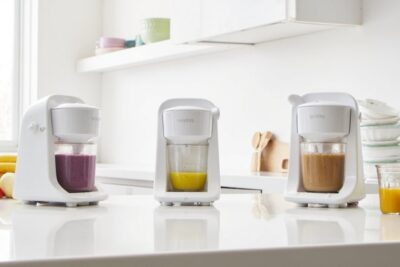
Best Baby Food Makers for Small Kitchens
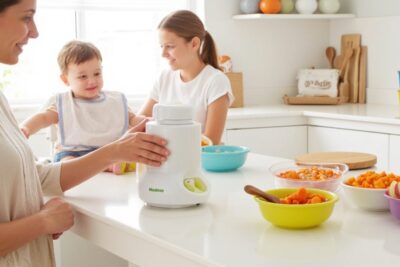
7 Tips for Using a Portable Baby Food Maker

How to Use a Baby Food Maker With Glass Bowl

What Are the Safest Baby Food Processors 2024?

7 Top-Rated Baby Food Makers on Amazon
This is also interesting