






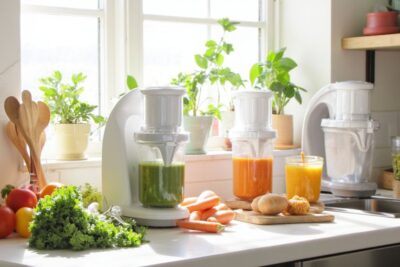
How to Use a Multi-Setting Baby Food Maker

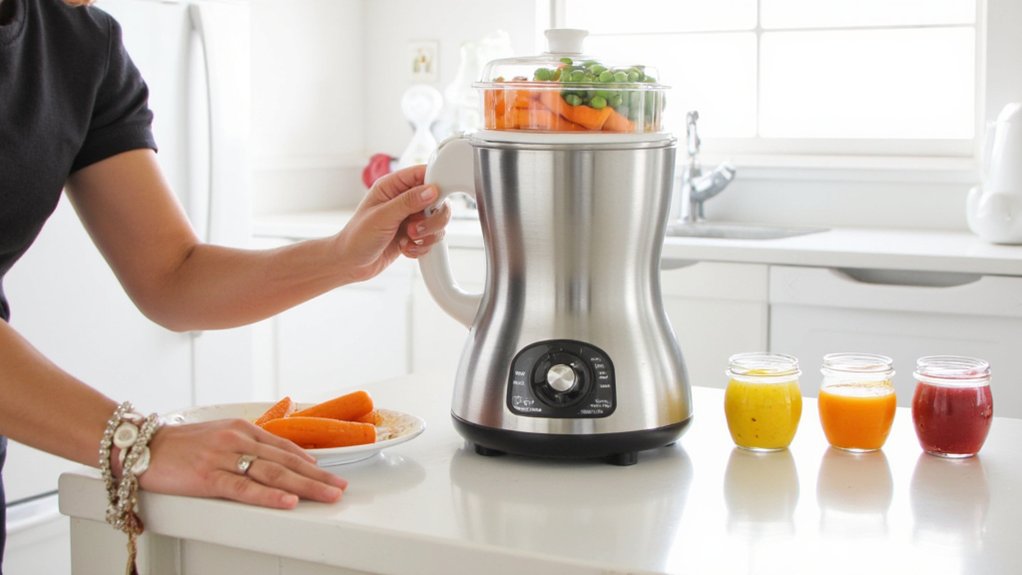
To use your multi-setting baby food maker, start by washing, peeling, and dicing ingredients into small pieces, then place them in the blender basket. Fill the water reservoir to the max line with filtered water. Select the appropriate food type on the touch screen, which automatically sets cooking and blending times. After cooking, the machine blends to the perfect consistency. Clean gently, handle blades with care, and store food properly in airtight containers. Learn how to batch cook and maintain your appliance for best results.
Table
- Main Points
- Preparing Your Ingredients for Baby Food
- Setting Up the Baby Food Maker
- Filling the Water Reservoir Correctly
- Selecting the Appropriate Food Type on the Touch Screen
- Adjusting Cooking Time for Different Ingredients
- Starting the Cooking and Blending Cycle
- Using the Bottle Warmer and Food Defroster Functions
- Cleaning the Baby Food Maker After Use
- Maintaining Blade Safety During Cleaning and Drying
- Storing Homemade Baby Food Safely
- Tips for Efficient Batch Cooking
- Frequently Asked Questions
- Final Thoughts
Main Points
- Thoroughly wash, peel, and dice ingredients into small pieces for even cooking and safe blending.
- Place the unit on a stable surface, plug it in, and fill the water reservoir to the max line using filtered water.
- Use the touchscreen to select the appropriate cooking setting for your ingredient, confirming with the LED display.
- Start the cooking cycle, typically 20 minutes for sweet potatoes, then allow the machine to automatically blend to desired consistency.
- After use, activate the built-in cleaning cycle, hand rinse removable parts, and handle blades carefully for maintenance.
Preparing Your Ingredients for Baby Food
Before you start making baby food, make certain to wash all fruits and vegetables thoroughly to remove dirt and pesticides. Use soapy water and rinse well to guarantee they’re clean and safe for your little one. Next, peel and dice fruits and vegetables into small pieces to help them cook evenly and blend smoothly in the baby food maker. When preparing meats, cut them into small cubes to steam and puree properly. Always check for seeds or pits in fruits that could be choking hazards, removing them carefully. It’s helpful to use dishwasher-safe parts when cleaning up after meal prep for convenience and hygiene. Finally, measure your ingredients to fit within the four-ounce blender basket—this guarantees ideal cooking and blending results. Taking these steps shows your care and commitment to nourishing your baby safely.
Setting Up the Baby Food Maker
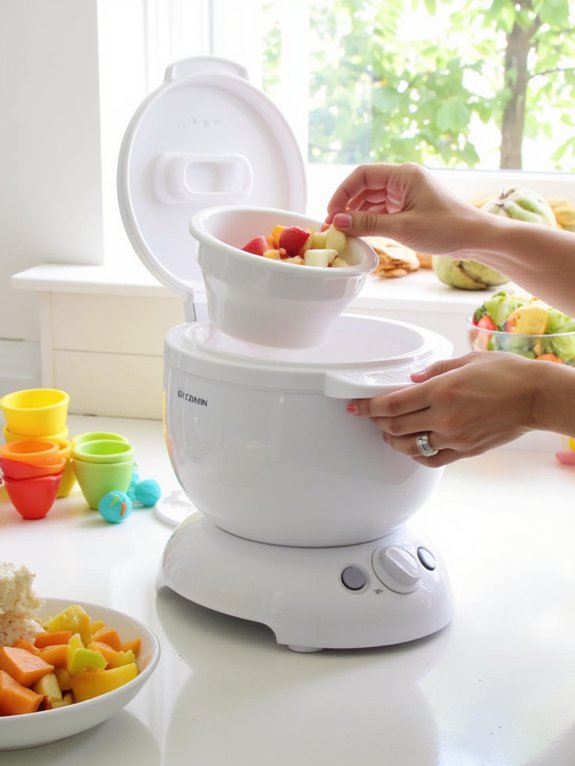
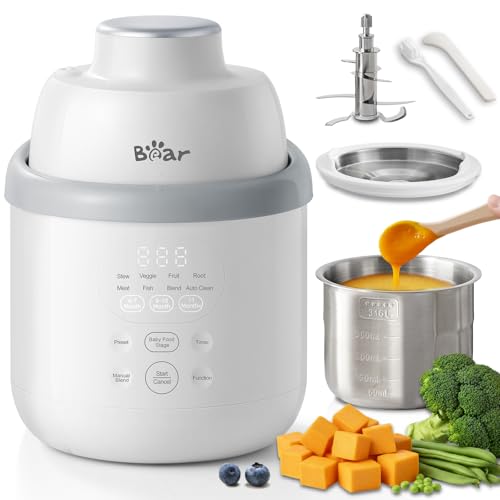
To set up your Bear Baby Food Maker, start by placing it on a stable, flat surface and plugging it in securely. These setting up essentials guarantee safety and efficient operation. When choosing location, pick a spot near a power outlet and away from water sources to keep your workspace safe and clean. Next, focus on understanding controls by familiarizing yourself with the touchscreen interface. This helps you select the right cooking settings tailored to your ingredients. The Bear model shares similarities with other baby food makers that use intuitive LCD touchscreen controls, making operation straightforward even for first-time users.
Here’s a quick guide to get started:
- Place the unit on a flat surface and plug it in.
- Choose a convenient location with easy access.
- Learn the touchscreen controls for smooth operation.
Filling the Water Reservoir Correctly
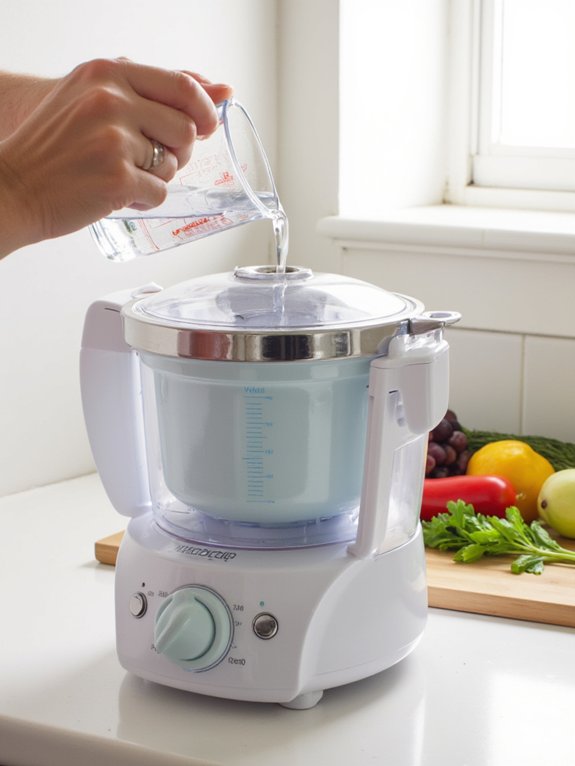
How exactly should you fill the water reservoir to guarantee your Bear Baby Food Maker works at its finest? First, always fill the reservoir to the max line to guarantee ideal steaming for fruits, vegetables, and meats. Using filtered water improves water quality, enhancing performance and supporting reservoir maintenance by preventing mineral buildup. Before each use, check that the reservoir is securely closed to avoid leaks during cooking. Proper filling directly impacts cooking times—like the recommended 20 minutes for sweet potatoes—helping you serve nutritious meals on schedule. Paying attention to these details not only maximizes your machine’s efficiency but also shows your commitment to providing safe, well-prepared food for your little one. Reservoir maintenance and water quality are key to consistently delicious, healthy results. When using baby food makers, it's also important to consider chemical safety in food preparation to ensure your child's meals are as safe as they are nutritious.
Selecting the Appropriate Food Type on the Touch Screen
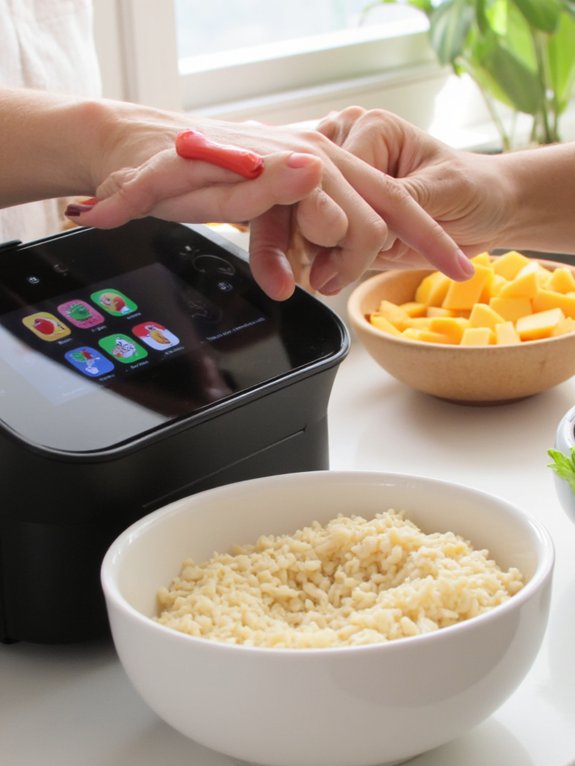
Once you've filled the water reservoir properly, selecting the right food type on the touch screen becomes your next step to guarantee perfect cooking.
The intuitive touch screen navigation makes food type selection simple and accurate, ensuring each ingredient cooks just right. The user-friendly interface of many modern baby food makers, like the Evlis, is designed specifically for caregivers to simplify operation and enhance the overall experience. Here’s how to proceed:
- Tap the desired food category—fruits, vegetables, or raw meats—to prompt the cooking settings adjustment.
- Watch the LED display confirm your choice and show real-time cooking status.
- After cooking, select the automated blending option on the touch screen to prepare a smooth, nutritious meal effortlessly.
Adjusting Cooking Time for Different Ingredients
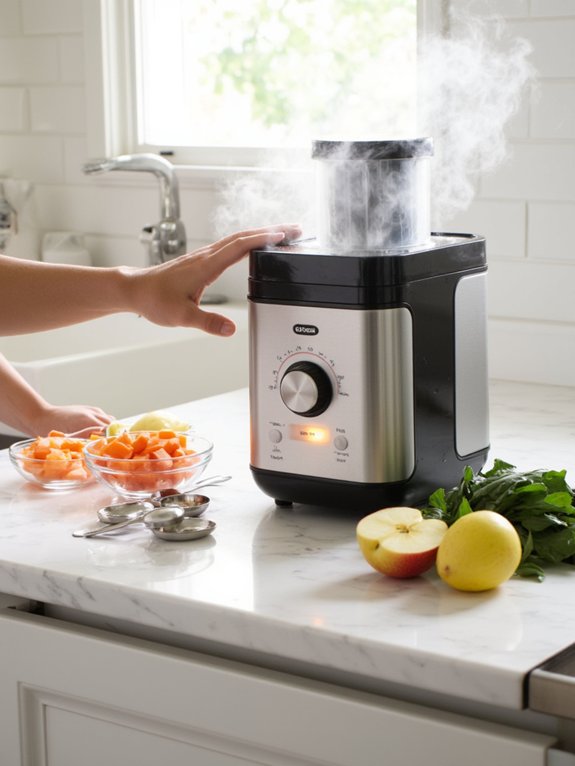
You’ll need to adjust cooking times based on the ingredient’s texture and density to get the best results.
Softer fruits like bananas require less time, while denser vegetables or meats need longer steaming.
Using the touch screen, you can select the food type, and the machine will help you set the right cooking time automatically.
The 2-layer steamer basket found in some baby food makers lets you cook different ingredients at once, allowing you to tailor cooking times to each food’s needs for optimal nutrition.
Cooking Time Variations
Although different ingredients require varying cooking times, adjusting these settings correctly secures your baby food maker produces smooth, safe, and nutritious meals. For extra peace of mind, modern appliances like the Phydge Baby Food Maker also feature a spill-proof lid design that helps keep your kitchen clean during meal prep.
You’ll want to focus on cooking time adjustments to achieve the right ingredient softness and perfect steam duration.
- Sweet potatoes need about 20 minutes to become tender and blend easily.
- Harder veggies like carrots require around 25 minutes to confirm they’re fully cooked and safe.
- Softer fruits such as apples and pears only need about 15 minutes of steaming to reach ideal consistency.
Ingredient-Specific Adjustments
Mastering cooking times means understanding how different ingredients respond to heat.
When using your baby food maker, keep in mind ingredient variations like sweet potatoes needing about 20 minutes, while softer fruits such as bananas only require 5 minutes.
Hard vegetables like carrots or beets take longer—typically 15 to 25 minutes depending on size and freshness.
For raw meats, guarantee thorough cooking by setting the timer around 25 to 30 minutes.
Adjusting cooking time based on density and moisture content helps you achieve the perfect texture preferences, making purees smooth and safe.
Always consider nutrition considerations by following the manufacturer’s guidelines to preserve nutrients while guaranteeing food safety.
This thoughtful approach supports serving the best possible meals to your little one.
Starting the Cooking and Blending Cycle
Once you've prepared your ingredients and set the cooking time, it’s time to start the cycle.
Simply press the single button to begin cooking, and the machine will automatically switch to blending when the steaming is done.
Keep an eye on the LED display to follow the progress and guarantee everything runs smoothly.
Initiating Cooking Process
Before you start the cooking process, make certain you've peeled and diced your fruits or vegetables, then filled the water reservoir up to the max line on your Bear Baby Food Maker. This guarantees even steaming and ideal texture for your baby food.
Next, follow these simple steps:
- Select the desired food type on the touch screen—this sets the right cooking time based on your ingredient combinations, like 20 minutes for sweet potatoes.
- Press the single button to initiate the cooking process; the device will steam your ingredients using effective cooking methods.
- Keep an eye on the LED display to monitor the remaining cooking time.
Activating Blending Function
To activate the blending function on your Bear Baby Food Maker, start by filling the water reservoir to the max line and loading the peeled, diced fruits or vegetables into the blender basket. Place the basket securely inside, then press the single button to start the cooking cycle—set the time to 20 minutes for sweet potatoes. Once cooking finishes, the machine automatically blends your food, adjusting blending techniques to achieve your preferred consistency levels and food textures. The LED display guides you through each step, so you always know when blending begins. For added nutrient retention, the unique steam circulation system preserves essential vitamins and flavors throughout the cooking and blending process. Always guarantee proper assembly and blade protection before cleaning to maintain safety and performance.
| Blending Techniques | Consistency Levels | Food Textures |
|---|---|---|
| Gentle pulse | Smooth | Pureed |
| Continuous blend | Medium | Chunky |
| Intermittent blend | Thick | Mashed |
Using the Bottle Warmer and Food Defroster Functions
While preparing meals for your little one, you’ll find the Bear Baby Food Maker’s bottle warmer and food defroster functions incredibly convenient and safe. Its steam heating benefits guarantee even warming without hot spots, preserving nutrients and preventing burns. To get started, follow these key steps:
The Bear Baby Food Maker ensures safe, even warming and defrosting, preserving nutrients and preventing burns every time.
- Use bottle warming techniques by placing the bottle in the designated spot and selecting the warming setting via the touch screen.
- For defrosting methods, place frozen food jars in the defrost area, then choose the defrost function for quick, safe thawing.
- Always use filtered water in the reservoir to maintain hygiene and peak performance during both warming and defrosting. If you’re seeking reliability similar to sterilization efficiency, consistent use of filtered water also helps maintain cleanliness and ensures the safety of your baby’s meals.
This automated system guarantees the perfect temperature, letting you serve your baby with confidence and care every time.
Cleaning the Baby Food Maker After Use
After you've warmed or defrosted your baby's food, keeping the Bear Baby Food Maker clean guarantees it stays safe and efficient for future use.
Start by activating the built-in cleaning feature, which runs a 10-minute cycle without soap—just remember to use filtered water in the reservoir for best results. The removable parts of many baby food makers, like the MYAYLYGO, are designed to be dishwasher safe, making the cleaning process even more convenient for busy parents.
For thorough sanitation, rinse the blender basket and other removable parts by hand afterward. Regular cleaning frequency is essential; don’t forget to clean the water reservoir and other components to prevent buildup.
Use gentle cleaning materials like a soft cloth or sponge to avoid damage. Following these sanitizing tips guarantees your baby’s meals remain healthy and your food maker lasts longer.
Taking these steps shows your commitment to serving your little one with care and safety.
Maintaining Blade Safety During Cleaning and Drying
Handling the blades of your Bear Baby Food Maker with care is essential to prevent cuts and injuries during cleaning and drying.
To maintain blade safety, follow these blade protection tips for effective cleaning safety and injury prevention:
- Always use the provided blade protection when handling blades to avoid accidental cuts.
- After the cleaning cycle, rinse blades by hand gently, avoiding soaps or abrasives as recommended.
- Regularly inspect and replace any damaged blade protection to guarantee ongoing safety.
Storing Homemade Baby Food Safely
Because homemade baby food is so fresh and nutritious, you’ll want to store it properly to keep it safe and tasty for your little one.
Use airtight glass jars for homemade food storage to maintain freshness and prevent contamination. Once opened, refrigerate jars and use the food within 3 to 4 days.
Store homemade baby food in airtight glass jars and refrigerate after opening; use within 3 to 4 days.
For longer storage, freeze portions in ice cube trays, then transfer the cubes to freezer-safe bags, which helps with portion control and reduces waste.
Don’t forget baby food labeling—mark each jar or bag with the date and food type to track freshness and avoid serving expired food.
When thawing, do it overnight in the refrigerator or with a bottle warmer to preserve nutrients and prevent hot spots.
Avoid microwaving to keep your baby’s food safe and nutritious.
Tips for Efficient Batch Cooking
When you prepare and peel fruits and vegetables in bulk, you make the most of your Bear Baby Food Maker’s capacity and guarantee even cooking.
Embracing batch cooking benefits helps you save time and assures your little one has nutritious meals ready. With many dishwasher-safe parts and compact designs, you can maintain hygiene and streamline cleanup after each batch.
Here are three tips for efficient batch cooking:
- Fill the water reservoir to the max line to steam larger quantities, speeding up meal preparation and supporting your meal planning.
- Use the automated blending feature to process multiple batches seamlessly, then store portions for convenience.
- Explore different ingredient combinations using the touch screen menu to offer variety with minimal effort.
Cleaning is simple too—just activate the 10-minute cleaning cycle between batches to keep your machine ready for the next round.
Frequently Asked Questions
How to Use a Multi-Function Food Processor?
You’ll enjoy food processor benefits like quick prep and versatile recipe ideas. Always follow safety tips—secure lids and avoid overfilling. You can create healthy meals faster, helping you serve loved ones with care and ease.
How to Operate a Baby Food Maker?
You’ll love baby food preparation with this device. Just steam vegetables, then puree fruits effortlessly. It simplifies your efforts, ensuring nutritious, smooth meals that nurture your little one with care and ease every time you use it.
What Is the 2 Day Rule for Baby Food?
Imagine you introduce sweet potato puree to your baby, then wait two days before trying peas. This 2 Day Rule helps track reactions, ensuring safe baby food storage and aligns with infant nutrition guidelines for homemade puree introduction.
How to Use a Babycook Food Maker?
You’ll prepare nutritious baby food by peeling and dicing ingredients, filling water for steaming, selecting cooking times via touchscreen, then blending. Follow cooking tips and nutrition guidelines to serve safe, wholesome meals your baby will love.
Final Thoughts
Using a multi-setting baby food maker might seem tricky at first, but once you get the hang of it, you’ll save time and provide nutritious meals effortlessly. Did you know that steaming before blending preserves more nutrients than boiling? By prepping ingredients right, selecting precise settings, and cleaning carefully, you guarantee both safety and quality. Trust the process—it’s designed to make feeding your baby easier, healthier, and more enjoyable for both of you.
If you want to know other articles similar to How to Use a Multi-Setting Baby Food Maker you can visit the Baby Food Makers category.
Best Baby Food Makers for Batch Cooking
Best Baby Food Makers With Steaming Function
How to Choose an Easy-Clean Baby Food Maker
7 Quietest Baby Food Makers for Apartments
Best Baby Food Makers for Small Kitchens
7 Tips for Using a Portable Baby Food Maker

How to Use a Baby Food Maker With Glass Bowl

What Are the Safest Baby Food Processors 2024?

5 Tips for Using Baby Food Maker & Warmer
This is also interesting