








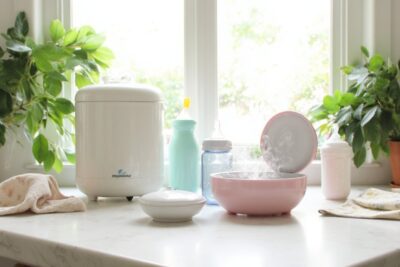
Step-by-Step Guide to Cleaning Bottle Sterilizers

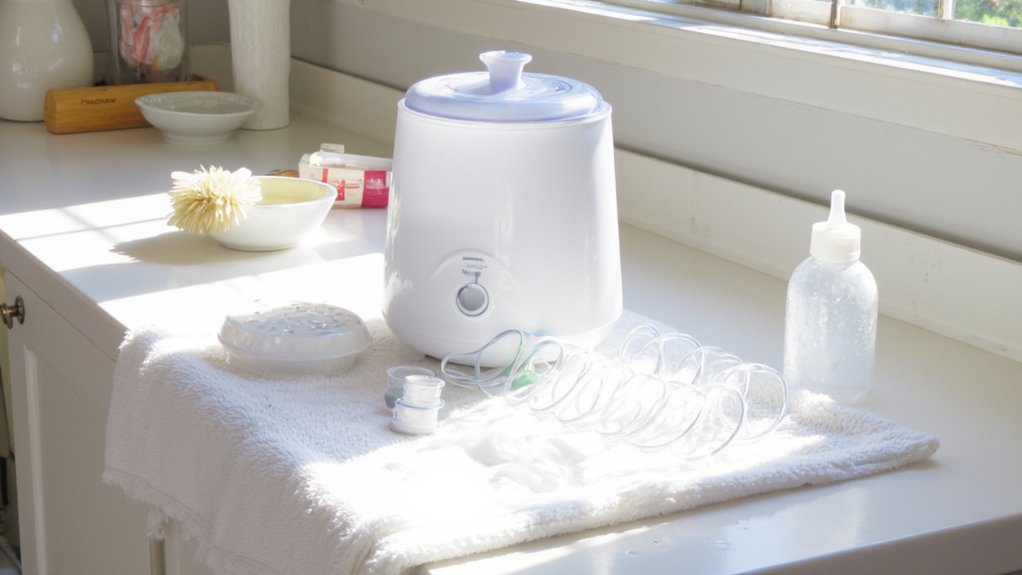
To clean your bottle sterilizer, first unplug and let it cool. Remove all detachable parts, rinse them with warm water, then soak in soapy water before scrubbing gently. Wipe the exterior with a soft cloth and mild soap. For the heating plate, use a vinegar solution to dissolve buildup safely. Empty and dry the reservoir after each use, and descale regularly with vinegar to prevent limescale. Keeping your sterilizer spotless guarantees baby’s health and appliance longevity. Learn more to master care tips and maintenance.
Table
- Main Points
- Why Regular Cleaning of Bottle Sterilizers Is Essential
- Preparing Your Bottle Sterilizer for Cleaning
- Removing and Washing Removable Parts
- Cleaning the Exterior of Your Bottle Sterilizer
- How to Clean the Heating Plate Safely
- Using Vinegar Solutions to Remove Mineral Deposits
- Alternative Descaling Methods for Bottle Sterilizers
- Step-by-Step Deep Cleaning Process
- Drying and Reassembling Your Bottle Sterilizer
- Recommended Cleaning Frequency for Optimal Hygiene
- Signs Your Bottle Sterilizer Needs Immediate Cleaning
- Tips to Prevent Limescale and Bacterial Build-up
- Maintaining Your Sterilizer for Longevity and Efficiency
- Frequently Asked Questions
- Final Thoughts
Main Points
- Unplug and cool the sterilizer, then remove and soak detachable parts in warm, soapy water for 10-15 minutes before scrubbing and rinsing.
- Wipe the exterior and heating plate with a soft cloth dampened in mild soapy water or a vinegar solution to remove residue and limescale.
- Run a descaling cycle with an equal parts vinegar and water solution every 1-2 weeks, without bottles inside, to maintain sterilizer efficiency.
- Empty and dry the water reservoir after each use to prevent bacteria growth and mineral buildup.
- Store the sterilizer in a clean, dry place and regularly inspect parts for damage or wear to ensure safe and effective use.
Why Regular Cleaning of Bottle Sterilizers Is Essential
Because your baby's immune system is still developing, keeping their bottle sterilizer clean is crucial to minimize exposure to harmful bacteria and mold.
By prioritizing regular cleaning and maintenance, you help protect your little one from infections and guarantee every feeding item stays clean and germ-free.
Regular cleaning prevents limescale buildup that can reduce your sterilizer’s efficiency and cause unpleasant odors.
This attention to detail not only keeps the device working properly but also extends its lifespan, saving you from frequent replacements.
Committing to a consistent cleaning schedule—including daily wipes and monthly deep cleans—creates a safer feeding environment for your baby.
Your care in maintaining a clean and germ-free sterilizer directly contributes to your infant’s health and wellbeing, making it a critical part of your nurturing routine.
Preparing Your Bottle Sterilizer for Cleaning
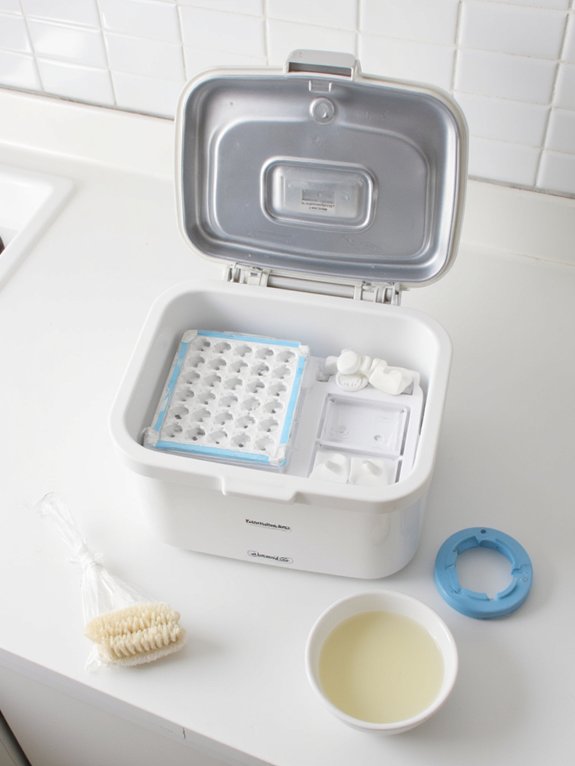
Before you start cleaning, make sure to unplug your bottle sterilizer and let it cool completely to avoid any risk of burns or damage.
Once it’s cooled, remove all the detachable parts like lids, trays, and racks to give each component a thorough clean.
Taking these steps first helps you clean more effectively and keeps your sterilizer in great shape.
Unplug and Cool
Unplug your bottle sterilizer promptly after use to keep yourself safe from electrical hazards. Once unplugged, allow the sterilizer and its removable parts to cool completely before you start cleaning. This prevents burns and guarantees safe handling. Empty any leftover water to reduce bacteria growth, maintaining hygiene. Always follow the manufacturer's instructions on cooling times and cleaning methods to prolong the sterilizer’s life and effectiveness.
| Step | Why It Matters |
|---|---|
| Unplug | Prevents electrical hazards |
| Cool Down | Avoids burns and injuries |
| Empty Water | Minimizes bacteria growth |
| Cool Removable Parts | Safe handling |
| Follow Guidelines | Guarantees ideal maintenance |
Taking these precautions shows care not only for your sterilizer but also for the little ones you serve.
Remove Removable Parts
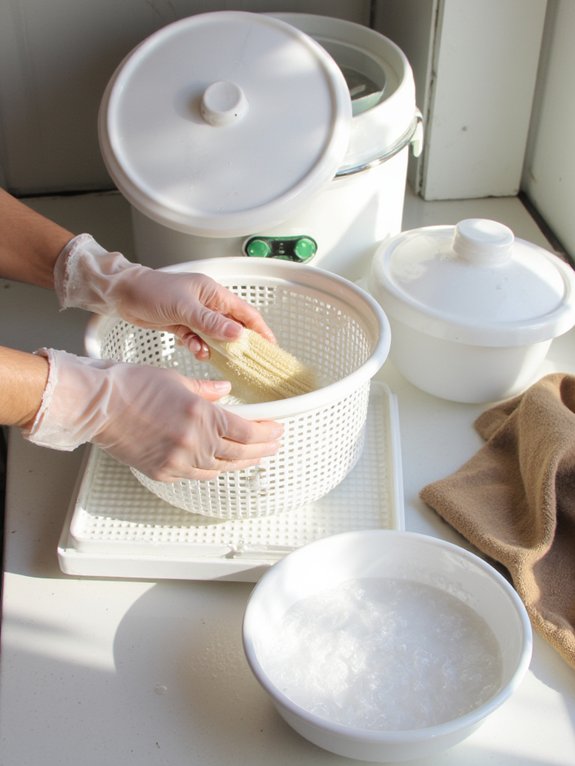
To prepare your bottle sterilizer for cleaning, start by carefully removing all detachable parts like the lid, bottle trays, and any racks or holders.
Before doing this, make certain the unit is unplugged and cooled for safety.
Gently take out each removable component, inspecting them for any visible residue or buildup. This helps you determine how thoroughly each part needs cleaning.
Place these parts in warm, soapy water to soak, allowing grime to loosen while you clean the main sterilizer unit.
Keeping track of all removable components is essential to guarantee smooth reassembly later.
By attentively handling each piece, you maintain the efficiency and hygiene of your bottle sterilizer, ultimately supporting the well-being of those you care for.
Removing and Washing Removable Parts
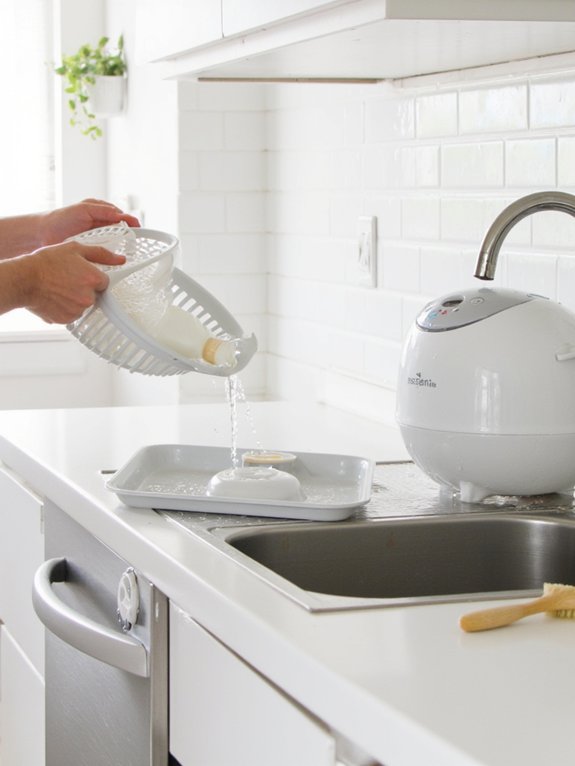
Before you start, make sure to unplug your sterilizer and let it cool completely.
Then, carefully detach all removable parts like the lid and trays, so you can soak them in warm, soapy water to break down any residue.
After a thorough rinse under running water, let everything air-dry fully on a clean surface to keep things safe and hygienic for your baby.
Detach All Components
Start by confirming the sterilizer has completely cooled down after use to protect yourself from burns.
Next, carefully detach all components to clean each thoroughly. Focus on removing the detachable parts such as:
- The lid, which traps steam and moisture
- Bottle trays that hold the bottles securely
- Racks or holders designed for smaller items
Once removed, rinse each piece under warm, clean water to wash away milk residue. This initial rinse makes soap cleaning more effective and gentle on the parts.
Using warm soapy water with a soft cloth or sponge, scrub every corner, especially hard-to-reach spots within holders.
Finally, rinse all parts thoroughly to eliminate soap traces and let them air dry completely before reassembling.
This process confirms your sterilizer stays hygienic, making your service to babies and families safer and more reliable.
Soak in Warm Water
Once you've carefully detached all the sterilizer components and rinsed off visible residue, soak each piece in warm, soapy water for 10 to 15 minutes.
This soaking step softens milk deposits and loosens any stubborn buildup, making the parts easier to clean.
Use a gentle sponge or cloth to scrub every surface, especially the crevices where milk residues tend to hide.
Taking your time here guarantees thorough cleanliness, which helps protect your baby’s health.
Soaking in warm, soapy water not only breaks down residues but also prepares the parts for a more effective rinse later.
By handling each piece gently yet thoroughly, you maintain the sterilizer’s integrity while serving your family with safe feeding tools.
This careful attention brings peace of mind and supports your caregiving efforts.
Rinse and Air-Dry
Anyone cleaning a baby bottle sterilizer knows that thoroughly rinsing and drying each removable part is essential to keep everything hygienic and functioning well.
Start by carefully removing all parts like the lid and bottle trays. Then, rinse out any residue under warm running water to eliminate milk buildup that can harbor bacteria.
Use a soft sponge with mild dish soap to clean every surface, paying close attention to crevices. After washing, rinse each part thoroughly to remove soap traces, which can interfere with sterilization.
Finally, let all components air-dry completely on a clean towel or drying rack. This prevents moisture buildup and mold growth, ensuring your sterilizer stays safe and effective.
- Remove all detachable parts before cleaning
- Rinse thoroughly to eliminate all soap and residue
- Air-dry completely before reassembling
Cleaning the Exterior of Your Bottle Sterilizer
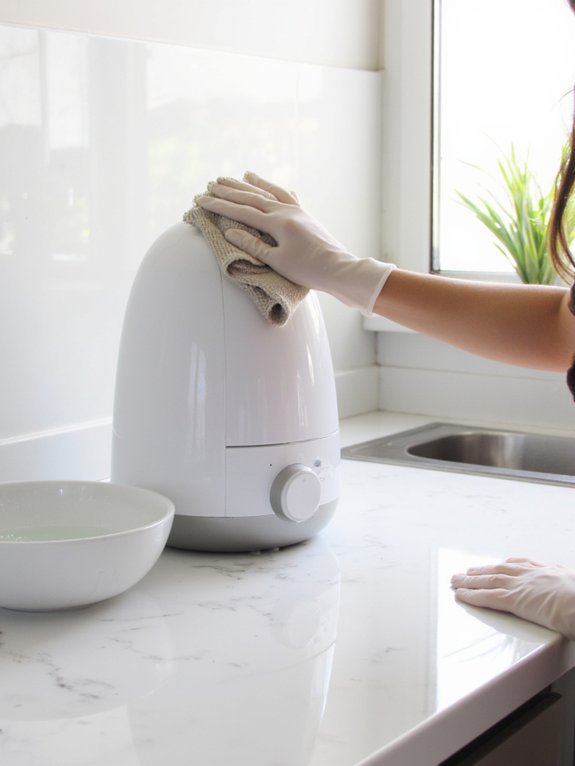
To keep your bottle sterilizer safe and looking its best, you should always unplug it and let it cool before cleaning the exterior. Use a soft cloth dampened with mild soapy water to gently clean the bottle sterilizer’s outer surfaces, avoiding abrasive materials to prevent scratches. Regularly wipe away dust and moisture to maintain hygiene and prevent buildup. Making this a routine after each use keeps your sterilizer fresh and safe for baby items.
| Step | Details |
|---|---|
| Unplug & cool | Prevent burns and accidents |
| Use soft cloth | Avoid scratches |
| Mild soap solution | Safe, residue-free cleaning |
| Wipe regularly | Prevent dust and moisture build-up |
| Clean after each use | Maintains hygiene and appearance |
How to Clean the Heating Plate Safely
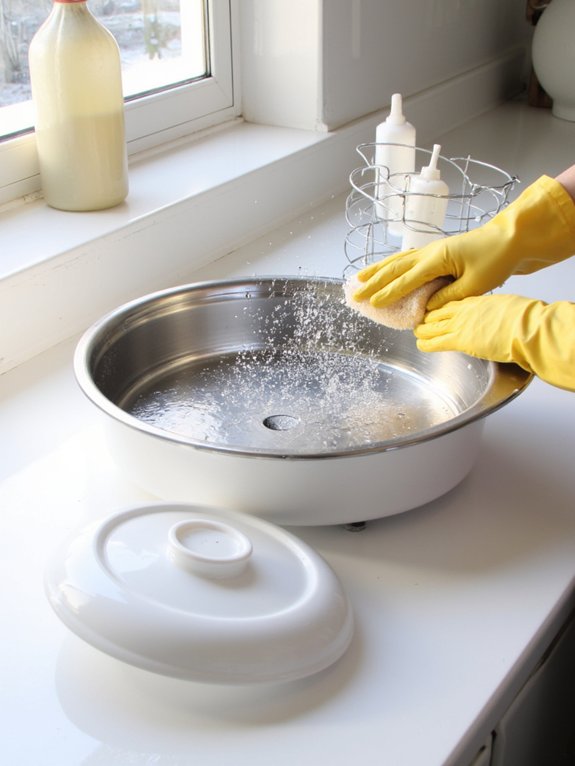
Before you start cleaning the heating plate, make sure the sterilizer is unplugged and completely cool to avoid burns.
Use a soft cloth dampened with vinegar or lemon juice to gently remove mineral deposits without scratching the surface.
Be careful not to let excess moisture seep inside, and avoid abrasive cleaners that can damage the plate’s efficiency.
Removing Mineral Deposits
Although mineral deposits can build up stubbornly on your bottle sterilizer’s heating plate, you can safely remove them by using a soft cloth dampened with a vinegar solution. Vinegar effectively dissolves mineral deposits without damaging the surface. Before you start, make sure the sterilizer is unplugged and completely cool to prevent burns or damage. For tough buildup, let the vinegar sit on the plate for a few minutes to break down deposits more efficiently. Avoid abrasive cleaners which can scratch the plate and reduce its effectiveness. To maintain your sterilizer’s function and longevity:
- Regularly wipe the heating plate with a vinegar solution
- Use a soft cloth for gentle cleaning
- Allow vinegar to soak briefly on stubborn limescale
This careful routine keeps your sterilizer safe and efficient.
Using Gentle Cleaning Agents
When you clean the heating plate, always unplug the sterilizer and wait until it cools completely to protect yourself and the device. To clean the heating plate safely, use a soft cloth moistened with white vinegar or lemon juice—both are gentle, natural agents that dissolve mineral deposits without scratching. Avoid abrasive cleaners or scrubbers, as they can damage the plate’s coating and reduce your bottle washer’s effectiveness. Vinegar is especially good since it’s safe for baby items and helps remove odors. After gently wiping the plate, use a damp cloth to remove any leftover cleaning solution. Make sure the plate is fully dry before reassembling your sterilizer. This careful approach keeps your bottle washer running smoothly while ensuring it’s safe for your little one.
Using Vinegar Solutions to Remove Mineral Deposits
Since mineral deposits can build up quickly in your bottle sterilizer, using a vinegar solution is a simple and effective way to keep it running smoothly. Vinegar’s acidic nature breaks down limescale and mineral buildup, preserving the sterilizer’s performance and hygiene. To use this method safely, mix equal parts vinegar and water, then run a sterilization cycle without bottles inside. Afterward, flush thoroughly with clean water to remove any vinegar remnants. Remember to check your sterilizer’s manual to confirm vinegar is safe for your model.
Use a vinegar-water solution to safely remove mineral buildup and maintain your bottle sterilizer’s efficiency.
Key points to follow:
- Mix vinegar and water in a 1:1 ratio for descaling.
- Run a full sterilization cycle with the solution, no bottles.
- Rinse well with clean water before your next use.
Regular vinegar cleaning helps you serve others with confidence and care.
Alternative Descaling Methods for Bottle Sterilizers
If you're looking for alternatives to vinegar for descaling your bottle sterilizer, several effective options can help you maintain its performance and hygiene.
Baking soda is a gentle descaling agent; dissolve 2 tablespoons in 1 cup of warm water, let it sit in the sterilizer, then rinse thoroughly.
Citric acid works well, too—mix 1 tablespoon with 1 cup of warm water, run a cycle, and then flush the unit with clean water to remove any residue.
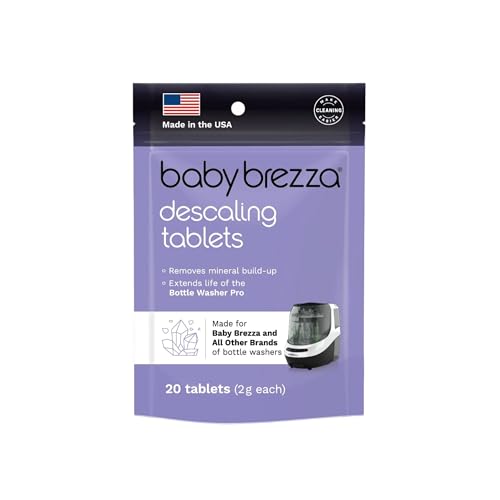
You can also consider commercial descaling products, but always follow the manufacturers instructions carefully to guarantee safety for baby items.
Regular descaling every 1-2 weeks, especially in hard water areas, helps prevent buildup and keeps your sterilizer working efficiently.
Step-by-Step Deep Cleaning Process
Before you immerse yourself in cleaning your bottle sterilizer, verify that it's unplugged and allow it to cool completely to ascertain safety.
Begin your deep clean by removing all detachable parts like trays and lids. Wash these thoroughly with warm soapy water, using a bottle brush to reach tight spots.
Start deep cleaning by taking off removable parts and washing them with warm soapy water using a bottle brush.
Next, descale the heating plate and internal components by running a cycle with a solution of equal parts white vinegar and water—this removes stubborn limescale buildup effectively.
Finally, gently wipe the exterior with a damp cloth and mild soap, avoiding abrasives that may damage the surface.
- Use a bottle brush for detailed cleaning
- Run a vinegar-water cycle to descale
- Clean removable parts separately
This careful process guarantees your sterilizer stays hygienic and ready to serve.
Drying and Reassembling Your Bottle Sterilizer
Allowing all parts of your bottle sterilizer to air dry completely is crucial to prevent moisture buildup that can encourage bacteria growth.
Place removable components, like trays and bottle holders, in a clean, dry area to guarantee thorough drying. Some advanced sterilizers include auto shut-off features that enhance safety during operation and can help prevent overheating while drying.
Pay close attention to air bubbles trapped in crevices—they can retain moisture and harbor bacteria.
Before reassembling, inspect each part carefully for any lingering limescale or residue to maintain peak sterilization performance.
Reassemble your sterilizer in the reverse order you took it apart, making sure every piece fits securely to keep it functioning properly.
Once reassembled, store your sterilizer in a dry, clean space to protect it from contamination and have it ready for the next use.
This attention to detail helps you serve others safely and effectively.
Recommended Cleaning Frequency for Optimal Hygiene
Keeping your bottle sterilizer clean doesn’t stop once you’ve dried and reassembled it. Maintaining the right cleaning frequency is crucial to guarantee ideal hygiene and prolong the device’s lifespan.
Regular upkeep protects against bacterial buildup and prevents wear and tear that can compromise safety.
Consistent maintenance prevents harmful bacteria and extends the life of your sterilizer for safe use.
To keep your sterilizer in top condition:
- Clean it thoroughly after every use, emptying and drying the water reservoir to avoid moisture accumulation.
- Perform a deep clean at least once a week to remove mineral deposits and maintain efficiency.
- If you use hard water, descale every 1-2 weeks to prevent limescale buildup.
Signs Your Bottle Sterilizer Needs Immediate Cleaning
When you spot limescale buildup or detect an unpleasant odor from your bottle sterilizer, it's a clear signal that it needs immediate cleaning. Keeping your sterilizer spotless guarantees the baby bottles stay hygienic and safe. Look out for visible mold or cloudy bottles post-cycle, as these signs mean the sterilizer isn’t functioning properly.
| Sign | What It Means |
|---|---|
| Limescale on heating plate | Reduced sterilization efficiency |
| Unpleasant odor | Residue or moisture buildup |
| Mold or mildew inside | Risk of contamination |
| Cloudy or unclean bottles | Sterilizer needs thorough cleaning |
Address these issues promptly to maintain a safe feeding environment for your little one.
Tips to Prevent Limescale and Bacterial Build-up
Noticing limescale buildup or unpleasant odors in your bottle sterilizer means it’s time to take proactive steps to prevent these issues from recurring.
Using the right water and maintaining dryness are key to keeping your sterilizer clean and safe for bottles. Here are some essential tips to help you:
- Use filtered or distilled water to reduce mineral deposits that cause limescale.
- After each use, empty and thoroughly dry the water reservoir to prevent moisture that encourages bacterial growth.
- Regularly descale the sterilizer every 1-2 weeks with a vinegar and water solution to remove deposits and wipe the interior with lemon juice or vinegar to eliminate odors.
Following these steps guarantees your sterilizer stays hygienic, protecting the bottles and water used for your little ones.
Maintaining Your Sterilizer for Longevity and Efficiency
To guarantee your bottle sterilizer continues working efficiently and lasts as long as possible, you should clean it thoroughly after every use and descale it weekly using a vinegar and water solution.
Maintaining your sterilizer means emptying and drying the water reservoir after each cycle to prevent odors and bacterial growth. Use filtered or distilled water to reduce mineral deposits and improve performance.
Regularly inspect all removable parts for wear and tear, replacing damaged components promptly to extend the device’s lifespan.
By focusing on consistent cleaning and careful maintenance, you ascertain your sterilizer remains a reliable tool in keeping baby feeding items safe and hygienic.
This thoughtful care not only preserves your sterilizer but also supports the health and comfort of those you serve.
Frequently Asked Questions
How to Clean a Bottle Sterilizer Step by Step?
You’ll guarantee bottle care by unplugging and cooling the sterilizer, washing removable parts with soapy water, wiping the exterior, gently cleaning the heating plate with vinegar, then air-drying everything—essential maintenance tips for safe, effective use.
How Do You Clean the Inside of a Sterilizer?
Like giving your sterilizer a fresh breath, use a soft cloth with vinegar to wipe inside gently. These cleaning tips guarantee sterilizer maintenance, keeping it spotless and safe, so you serve your little one with love and care.
How Do You Sterilize Baby Bottles Step by Step?
You’ll start by washing baby bottles with warm, soapy water. Then, choose bottle sanitization methods like boiling or steam sterilization. Follow effective cleaning techniques carefully to guarantee your baby’s bottles are safe and hygienic every time.
How Do You Clean a Steriliser?
You should clean your sterilizer regularly to guarantee effective sterilizer maintenance. Wipe the exterior gently, wash removable parts with soapy water, descale monthly, and always let everything air dry thoroughly to keep it hygienic and safe.
Final Thoughts
Keeping your bottle sterilizer spotless might seem like a small task, but neglecting it can turn a helpful tool into a hidden health risk. While cleaning might feel like an extra chore in your busy day, it’s the key to ensuring every feed is safe and hygienic. By staying consistent with simple steps, you’re not just maintaining a device—you’re protecting your little one’s well-being and making your parenting journey a bit smoother.
If you want to know other articles similar to Step-by-Step Guide to Cleaning Bottle Sterilizers you can visit the Bottle Sterilizers & Warmers category.
Top Eco-Friendly Baby Bottle Sterilizer Choices
10 Best Bottle Sterilizers for Newborns 2024
Best Sterilizers Compatible With Dr Brown Bottles
Best Sterilizers for Glass Baby Bottles

5 Best Fastest Bottle Warmers for Night Feeds
3 Tips to Find Budget Bottle Sterilizers for Twins
10 Best Bottle Sterilizers for Daycare Use
Top 5 Bottle Warmers With Auto Shut-Off
Top 3 UV Light Bottle Sterilizers for Babies
This is also interesting