
















10 Tips for Rear Facing Car Seat Installation

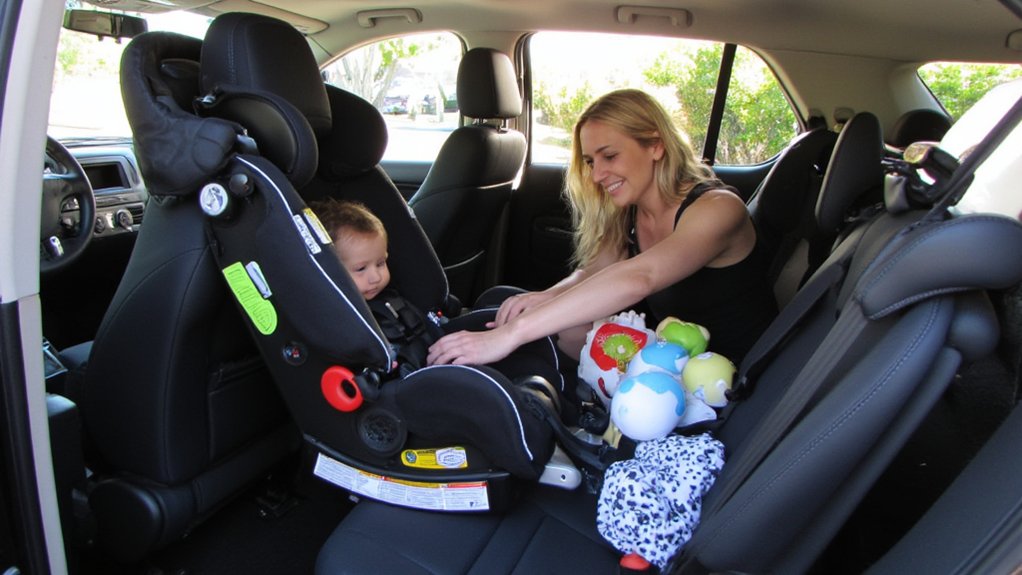
Choose a car seat that fits your child’s size and meets safety standards. Place it in the safest spot and follow both vehicle and car seat manuals carefully. Use either the seat belt or LATCH system—not both—and guarantee a tight installation with less than an inch of movement. Position the seat at a 45-degree angle. Adjust harness straps to shoulder level and perform the pinch test for a snug fit. Avoid bulky clothes under straps, and consider help from certified technicians. Keep going to uncover essential tips that boost safety and confidence.
Table
- Main Points
- Choose the Right Rear Facing Car Seat
- Find the Safest Spot in Your Vehicle
- Follow Vehicle and Car Seat Manuals
- Use Either Seat Belt or LATCH System
- Position the Car Seat at a 45-Degree Angle
- Secure the Seat to Prevent Excess Movement
- Adjust Harness Straps to Shoulder Level
- Perform the Pinch Test for a Snug Fit
- Avoid Bulky Clothing Under Harness Straps
- Seek Help From Certified Safety Technicians
- Frequently Asked Questions
- Final Thoughts
Main Points
- Always read both the car seat and vehicle manuals before installation to ensure correct procedures and compatibility.
- Use either the seat belt or LATCH system exclusively, never both, and follow the manufacturer's belt path instructions precisely.
- Position the seat at a 30 to 45-degree recline angle to support proper head and neck alignment for infants.
- Ensure the car seat moves less than one inch at the base when pulled to confirm a secure fit.
- Adjust harness straps to sit at or below the child's shoulders and perform the pinch test to verify a snug fit.
Choose the Right Rear Facing Car Seat
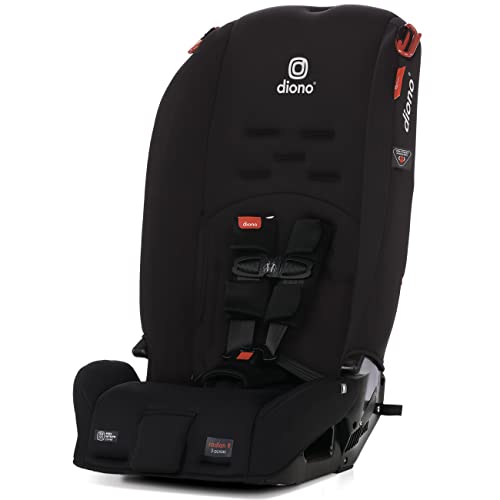
When choosing a rear-facing car seat, you need to prioritize your child's safety by selecting a model that fits their current weight and height according to the manufacturer's guidelines.
Check that the car seat meets or exceeds federal safety standards—look for the official label to confirm this.
Always ensure your car seat meets or surpasses federal safety standards by checking the official label.
Opt for a convertible car seat to extend rear-facing use safely, following expert recommendations to keep your child rear-facing until at least age two or until the seat’s maximum limits are reached.
Verify the car seat has undergone rigorous crash testing and carries a reliable safety certification.
Finally, pick a model with clear installation instructions and a user-friendly design to help you set it up correctly, giving your child the secure protection they deserve every time you travel.
Find the Safest Spot in Your Vehicle
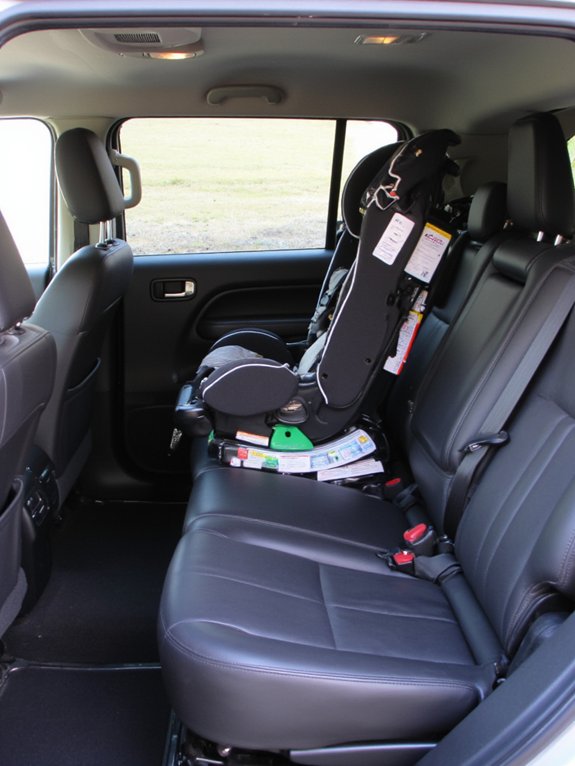
Selecting the safest spot in your vehicle for a rear-facing car seat can greatly enhance your child's protection.
Always prioritize the back seat, as it’s the safest place for children under 13. Whenever possible, install the car seat in the center of the back seat, reducing the risk of injury during a collision.
Use your vehicle’s lower anchors and tethers to secure the seat firmly, ensuring it won’t shift. Check your owner’s manual to confirm approved seating positions and avoid areas with obstructions like seat belts or front seats that might interfere.
Position the seat at a 30 to 45-degree angle to support your child’s head and neck properly.
By carefully selecting the safest spot, you’re actively safeguarding your child’s well-being every ride.
Follow Vehicle and Car Seat Manuals
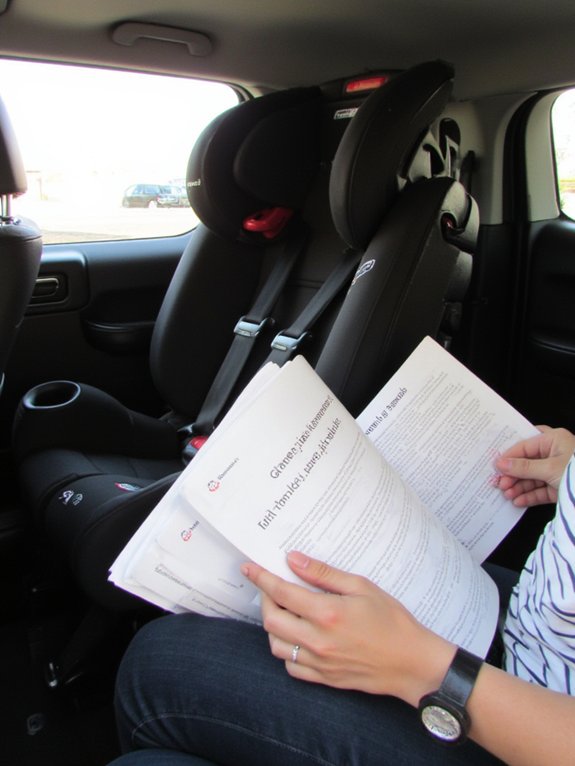
Because every vehicle and car seat model differs, you must consult both your car seat manual and vehicle owner’s manual before installation.
These guides provide essential, model-specific instructions to guarantee your child’s safety. Check for any seating restrictions in your vehicle that could limit where you install rear-facing car seats.
Adhere strictly to the car seat's weight and height limits for rear-facing use to maintain safety standards. Follow the precise belt path directions outlined in the car seat manual to secure the harness correctly.
Don’t forget to review both manuals regularly for updates or recalls that might impact the installation or safety of your car seats.
By thoroughly following these manuals, you’re guaranteeing a secure and reliable installation that protects the little ones you care for most.
Use Either Seat Belt or LATCH System
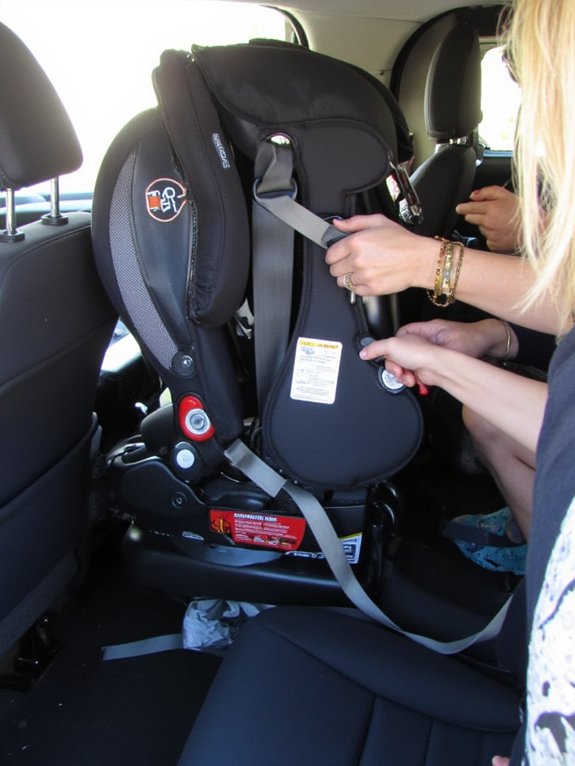
You must choose either the seat belt or the LATCH system to secure your rear-facing car seat—never both at once.
Follow the manufacturer’s instructions carefully, paying close attention to the correct belt path or anchor points.
Also, check the weight limits for your chosen method to keep your child safe and your installation secure.
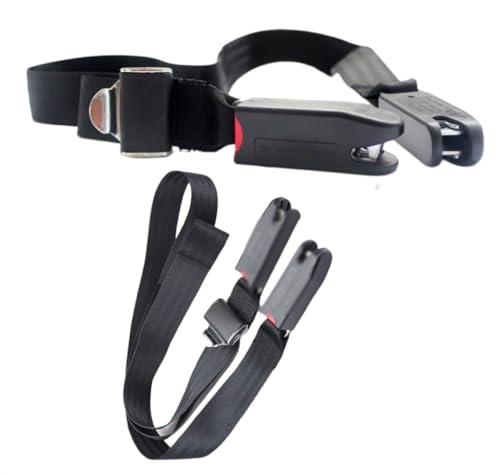
For added security and ease, make sure to use the Secure LATCH system when following installation guidelines, as it guarantees safe installation and protection.
Choose One Method
A crucial step in installing a rear-facing car seat is choosing either the seat belt or the LATCH system to secure it properly. You must never use both methods simultaneously, as that can compromise safety. If you select the seat belt, carefully follow the belt path directions marked on the car seat to guarantee a tight, secure fit. When using the LATCH system, connect the car seat to the vehicle’s lower anchor bars, making sure the combined weight of your child and the seat doesn’t exceed 65 pounds. Always confirm your chosen method aligns with both the car seat and vehicle manuals. A properly installed seat, whether by seat belt or LATCH, should move less than one inch at the belt path, giving you confidence in your child’s safety.
Follow Manufacturer Instructions
Once you've chosen between the seat belt or LATCH system for securing your rear-facing car seat, closely following the manufacturer’s instructions becomes the next step to assure safety.
Always refer to both the car seat and vehicle owner manuals to confirm the correct installation method. If you opt for the LATCH system, verify your child’s combined weight with the seat doesn’t exceed 65 pounds.
When using the seat belt, carefully follow the designated belt path to secure the seat firmly. Never use both methods simultaneously, as this can compromise protection.
By adhering to these guidelines and consulting a certified Child Passenger Safety technician when needed, you’ll confidently provide the safest environment for your child.
Remember, to truly protect, you must follow manufacturer instructions precisely.
Check Weight Limits
While installing a rear-facing car seat, checking weight limits is essential to confirm your child's safety.
Always consult the car seat manual to determine weight limits for both the seat belt and LATCH systems. Remember, the LATCH system supports a combined weight (child plus seat) of 65 pounds or less, so verify your child's current weight against this limit.
If you choose the seat belt method, follow the specific belt path directions carefully and make certain the belt locks securely.
Also, check your vehicle’s owner manual for any unique LATCH weight restrictions.
As your child grows, regularly reassess and adjust the installation method to stay within the recommended weight limits.
By diligently checking weight limits, you’re confirming the safest ride possible for your little one.
Position the Car Seat at a 45-Degree Angle
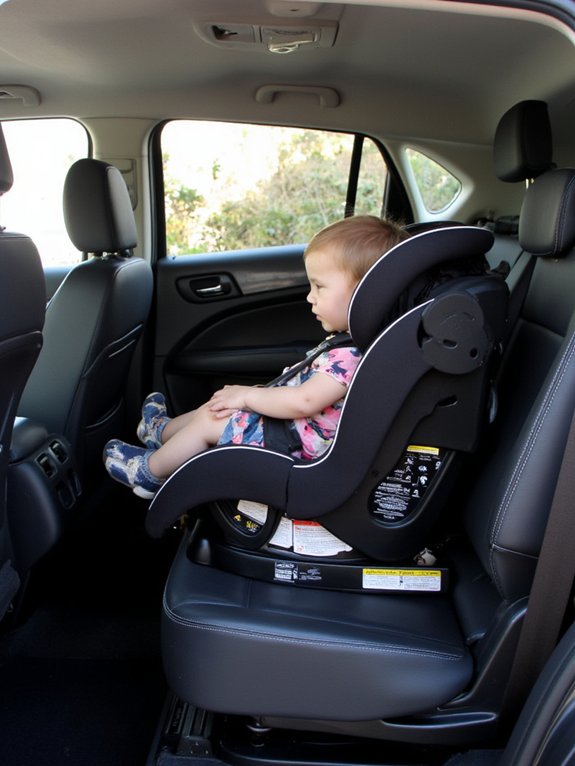
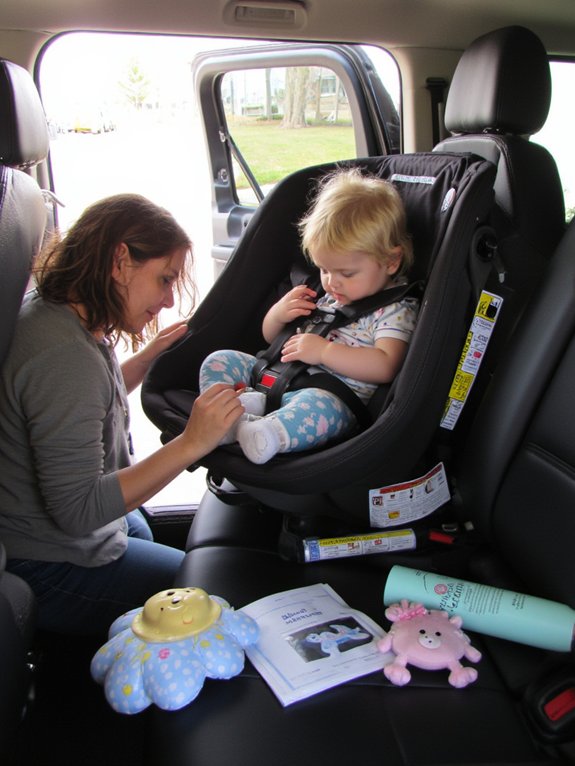
You need to position the rear-facing car seat at a precise 45-degree angle to prevent your child’s head from slumping forward, which can block their airway.
Most car seats include an angle indicator to help you get this just right.
This correct recline not only supports your child’s head and neck but also keeps them safe and comfortable during every ride.
Correct Recline Angle
A rear-facing car seat must be installed at about a 45-degree angle to properly support your baby's head and neck while keeping their airway open.
Achieving the correct recline angle is vital to prevent your infant’s head from flopping forward, which can obstruct breathing. Most car seats include built-in angle indicators or levels—use these tools to guarantee precise positioning.
Remember, the exact recline angle might vary slightly depending on your car seat’s manufacturer, so always consult the manual for guidance.
Maintaining this angle is important until your child reaches the maximum rear-facing weight or height limit.
By prioritizing the correct recline angle, you’re not only complying with safety standards but also providing the gentle, secure support your baby needs on every journey.
Prevent Head Slumping
Because proper positioning can make all the difference, setting your rear-facing car seat at a 45-degree angle is essential to prevent your baby's head from slumping forward.
This angle supports your child's head and keeps their airway clear, especially for infants lacking neck control.
To guarantee this:
- Use built-in angle indicators on the car seat to achieve the correct recline.
- Regularly check and adjust the seat’s angle as your child grows.
- When uncertain, consult the car seat manual or a certified Child Passenger Safety Technician for expert guidance.
Following these steps will help you maintain a safe, comfortable position for your child and give you confidence in your installation skills.
Remember, expert support is always available when you need it.
Secure the Seat to Prevent Excess Movement
Although securing a rear-facing car seat tightly might seem challenging, it’s essential to prevent excess movement that could compromise your child's safety. Start by ensuring the seat at the belt is snug, so it moves less than one inch at the belt path. Use either the seat belt or LATCH system—never both—to maintain safety integrity. Always follow your car seat’s manufacturer instructions closely.
Regularly check the seat’s tightness, especially after temperature changes or moving the seat.
| Key Step | Detail |
|---|---|
| Tighten Seat | Less than 1-inch movement at belt path |
| Use One System Only | Seat belt or LATCH, never both |
| Check Often | After temperature shifts or repositioning |
Adjust Harness Straps to Shoulder Level
Once you've secured the car seat tightly to minimize movement, focus on adjusting the harness straps to the correct shoulder level. Proper adjustment is vital for your child's safety and comfort.
To adjust harness straps to shoulder level, follow these steps:
- Position the harness straps at or just below your child's shoulders, as recommended for rear-facing seats, ensuring maximum protection in a crash.
- Make sure the straps lie flat without twists, distributing force evenly across your child's body.
- Regularly reassess and adjust the straps as your child grows, keeping them at the correct shoulder level to maintain safety.
Always consult your car seat manual for model-specific instructions.
Adjusting harness straps to shoulder level shows your commitment to your child’s well-being during every journey.
Perform the Pinch Test for a Snug Fit
After adjusting the harness straps to shoulder level, it's essential to perform the Pinch Test to check for any slack.
You should try to pinch the strap at your child's shoulder—if you can grasp any excess material, the harness isn’t tight enough.
Ensuring the straps are snug and properly positioned keeps your child secure and comfortable during every ride.
Harness Tightness Check
Every time you secure your child in a rear-facing car seat, you should perform the pinch test to guarantee the harness fits snugly.
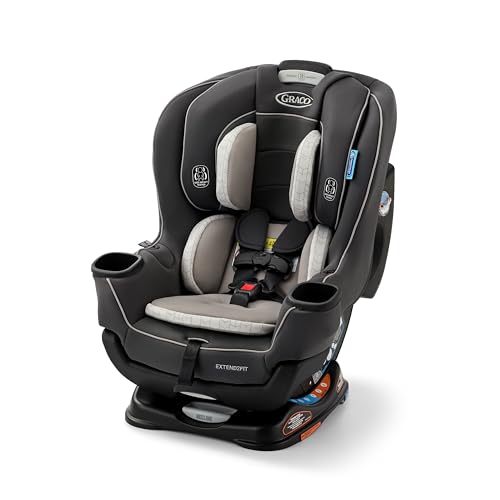
The harness tightness check is essential for your child's safety, ensuring the straps lie flat and hold firmly without gaps or twists. For added peace of mind, consider using a car seat like the Graco Extend2Fit, which features side-impact protection and a reliable 5-point harness system to enhance security.
Follow these steps:
- Pinch the harness strap at your child’s shoulder. If you can pinch excess material, the harness is too loose.
- Adjust the straps so they fit snugly, allowing no more than one inch of movement at the belt path.
- Confirm the harness is flat against your child’s body and properly fastened before every trip.
Regular checks maintain ideal security and comfort, protecting your child with every ride.
Strap Position Verification
Two key checks will guarantee your child's harness fits securely in a rear-facing car seat: positioning the straps at or just below the shoulders and performing the pinch test.
Start by routing the harness straps correctly through the designated belt path, ensuring they lie flat without twists. Position the straps at or slightly below your child’s shoulders—this placement is essential for ideal restraint. Many top-rated car seats, such as the Graco Extend2Fit Convertible, are specifically designed to make correct strap positioning and adjustment easier for parents.
Next, perform the pinch test: try pinching the harness strap at your child’s shoulder. If you can pinch any excess material, the harness isn’t snug enough and requires tightening.
Remember, a properly fitted harness prevents excessive movement, enhancing safety during travel. Always double-check strap positioning after any adjustment, as even small changes in clothing or placement can affect the harness’s effectiveness.
Ensuring No Slack
Performing the Pinch Test is an essential step to guarantee your child's rear-facing car seat harness fits snugly and securely.
To confirm no slack compromises safety, follow these steps each time you buckle your child in:
- Position the harness straps at or just below your child’s shoulders for ideal support.
- Attempt to pinch the harness strap at the shoulder. If you can pinch any excess material, tighten the harness until you cannot.
- Regularly reassess the harness fit, especially after adjusting the seat or changing your child’s clothing, as loose layers can create a false sense of security.
Avoid Bulky Clothing Under Harness Straps
Although it might seem practical to dress your child in bulky winter coats for car rides, doing so can actually compromise the harness’s effectiveness. Bulky clothing creates a false sense of security by making the harness appear tighter than it truly is, risking improper restraint during travel. To serve your child’s safety best, avoid dressing them in thick garments under the harness straps. Instead, choose thin, adjustable layers that allow you to snugly secure the harness directly against your child’s body. Always recheck the harness fit after adjusting clothing to guarantee it holds tightly without slack. Following the National Highway Traffic Safety Administration’s guidance on avoiding bulky clothing helps maintain the correct tightness and maximizes your child’s protection in the rear-facing car seat.
Seek Help From Certified Safety Technicians
When you want to guarantee your rear-facing car seat is installed perfectly, turning to a Certified Child Passenger Safety Technician (CPST) is your best option.
These experts have specialized training to assure maximum safety for your child.
Don’t hesitate to seek help from certified safety technicians—they’re your allies in protecting your little one.
Here’s how to make the most of their expertise:
- Attend local car seat checkup events organized by Safe Kids coalitions for hands-on assistance.
- Use online directories or contact health departments to find a CPST near you for personalized guidance.
- Schedule regular consultations to stay updated on the latest safety standards and installation best practices.
Frequently Asked Questions
How Do You Make Sure Your Rear Facing Car Seat Is Installed Correctly?
Use an Installation Checklist to verify your rear-facing car seat’s angle, tightness via the Inch Test, harness position, and snugness. Double-check the top tether and retest after adjustments to guarantee your child’s safety every trip.
What Is the 2 Hour Rule for Babies?
Think of the 2 Hour Rule as a gentle tide, guiding you to prioritize baby safety by limiting your infant’s time in a rear-facing seat to two hours, preventing discomfort and ensuring their breathing stays steady and safe.
Does a Rear Facing Car Seat Need to Be Anchored?
Yes, you need to follow strict anchor requirements to keep your rear-facing car seat secure. Always anchor it properly using either the seat belt or LATCH system, ensuring it moves less than an inch for your child's safety.
Which Is a Step When Installing a Rear Facing Car Seat?
You should guarantee the seat orientation is correct, positioning the car seat at a 30 to 45-degree angle. This supports your baby’s head and neck properly, providing safety and comfort during every journey you take together.
Final Thoughts
Installing your rear-facing car seat correctly is essential—did you know that 75% of car seats are misused, putting children at risk? By choosing the right seat, securing it tightly at a 45-degree angle, and adjusting harnesses properly, you’re protecting your child’s safety every ride. Don’t hesitate to consult your manuals or a certified technician if you’re unsure. Your careful attention makes all the difference in keeping your little one safe and secure.
If you want to know other articles similar to 10 Tips for Rear Facing Car Seat Installation you can visit the Baby Car Seats category.
What Are the Best Baby Car Seats for Small Cars?
Why Choose Baby Car Seats Under $100?
How to Use Rotating Baby Car Seats Safely
Why Choose FAA Approved Car Seats for Airplanes?
10 Tips for Choosing the Best Convertible Car Seat
What Are the Easiest Baby Car Seat Covers to Clean?

10 Tips for Choosing High Weight Limit Car Seats
Top 3 Baby Car Seats Compatible With Strollers
What Is the Safest Infant Car Seat?
This is also interesting